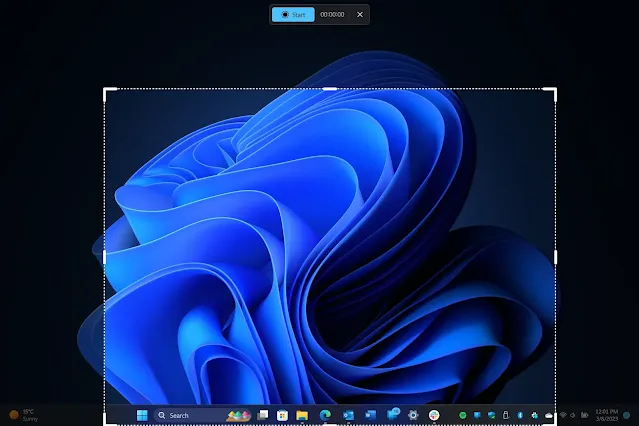
Mastering Windows 10 and Windows 11 Screenshots: Easy Methods for Perfect Screen Captures
How to take Screenshots in Windows 10 and 11
Taking screenshots on Windows 10 and Windows 11 is easy and can be done using built-in tools and keyboard shortcuts. Here's how you can capture all or part of your screen:
Using Snip & Sketch:
1. Press Windows key + Shift + S to call up Snip & Sketch.
2. Alternatively, find Snip & Sketch in the alphabetical list of apps accessed from the Start button or in the notification panel as "Screen snip."
3. You can choose the type of screenshot you want: rectangular, freeform, window, or full-screen.
4. Once captured, the screenshot is saved to your clipboard and appears briefly as a notification in the lower-right corner.
5. Click the notification to open the screenshot in Snip & Sketch for annotation, saving, or sharing.
Using Snipping Tool:
1. The Snipping Tool can be accessed via the search bar.
2. Click "New" to begin the screenshot process.
3. Choose the snip type: rectangular, free-form, full-screen, or window.
4. Snipping Tool does not automatically save your screenshots; you need to manually save them within the tool before exiting.
Using Print Screen (PrtScn):
1. To capture the entire screen, press the Print Screen (PrtScn) key.
2. The screenshot is copied to the clipboard.
3. Open an image editing tool (e.g., Microsoft Paint), paste the screenshot, and save the file from there.
Using Windows key + Print Screen:
1. Press Windows key + Print Screen to capture the entire screen and automatically save the screenshot.
2. The screenshot is saved in the "Pictures > Screenshots" folder.
Using Alt + Print Screen:
1. Capture the active window by pressing Alt + PrtScn.
2. The screenshot is copied to the clipboard, and you'll need to open it in an image editor to save.
No Print Screen key
If your keyboard lacks a PrtScn key, you can use Fn + Windows logo key + Space Bar to take a screenshot, saved to the "Pictures > Screenshots" folder.
Using Game bar:
1. Enable the Game bar in settings.
2. Press Windows key + Gto call up the Game bar.
3. Click the screenshot button or use Windows key + Alt + PrtScn to snap a full-screen screenshot.
4. Customize your Game bar screenshot keyboard shortcut in Settings > Gaming > Game bar.
Using Windows Logo + volume down (Surface devices):
For Microsoft Surface devices:
1. Hold the Windows Logo touch button at the bottom of your screen.
2. Simultaneously, press the volume-down button on the side of the tablet.
3. The screenshot is saved to the "Pictures > Screenshots" folder.
Choose the method that suits your preferences and start capturing your screen in Windows 10 or Windows 11.
______________________________________________
FAQ for Mastering Windows 10 and Windows 11 Screenshots
Q1: How can I take a screenshot of my entire screen in Windows 10 or Windows 11?
A1: You can press the "Print Screen" or "PrtScn" key to capture the whole screen, and in Windows 10, you can also use "Windows key + Print Screen" to save it directly to your Pictures folder.
Q2: What's the easiest way to take a screenshot of a specific window or area?
A2: The Snip & Sketch tool is a handy option. Use the keyboard shortcut "Windows key + Shift + S" to select the area you want to capture.
Q3: Can I still use the Snipping Tool in Windows 10 and Windows 11?
A3: Yes, you can. While it's been delisted from the Start menu in Windows 11, you can access it through the search bar.
Q4: How do I take a screenshot of just the active window?
A4: Press "Alt + PrtScn" to capture the active window. You'll need to paste it into an image editor to save it.
Q5: What's the quickest way to take a screenshot of a game or any screen, even when not playing a game?
A5: Enable the Game bar in settings and use "Windows key + Alt + PrtScn" or customize your own keyboard shortcut in Settings > Gaming > Game bar.
Q6: What if my keyboard doesn't have a "Print Screen" key?
A6: You can use "Fn + Windows key + Space Bar" to take a screenshot.
Q7: How can I take a screenshot on a Microsoft Surface device?
A7: Hold down the Windows Logo touch button at the bottom of your Surface screen and hit the physical volume-down button on the side.
Q8: Where are my screenshots saved?
A8: Screenshots are usually saved in the "Pictures" folder in a "Screenshots" subfolder.
Q9: Can I edit or annotate my screenshots after capturing them?
A9: Yes, you can edit and annotate your screenshots using built-in tools or third-party image editing software.
Q10: How do I pin the Snip & Sketch tool to my taskbar for quick access?
A10: Right-click on the Snip & Sketch app in the Start menu and select "Pin to taskbar" for easy access.

